
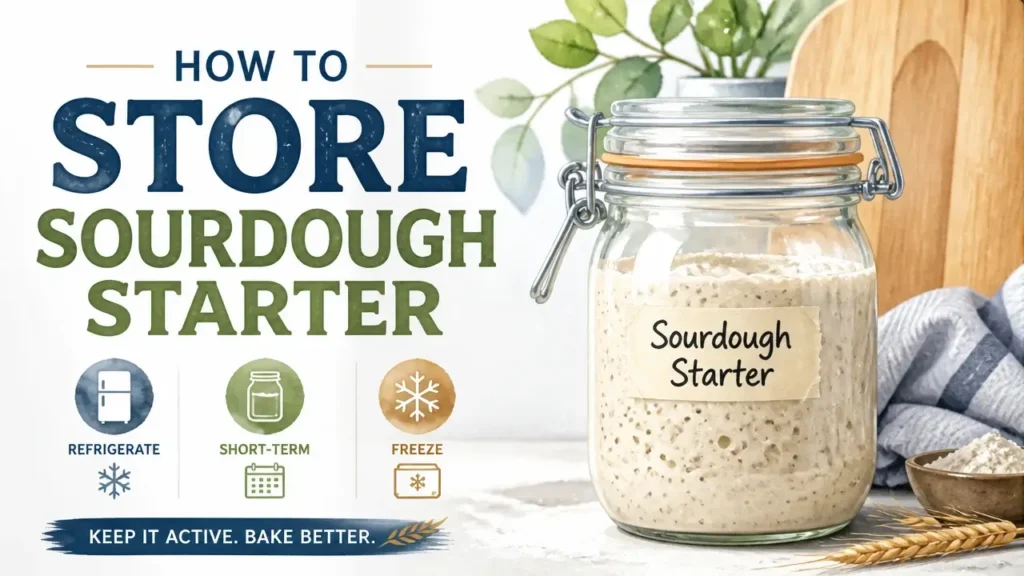
Storing sourdough starter well isn’t about keeping it alive at all costs – it’s about managing its activity level to fit your schedule. Feed it daily if you bake constantly. Slow it down in the fridge if you don’t. Dry it or freeze it if life gets in the way for months.
The difference between a thriving culture and a neglected one rarely comes down to technique. It comes down to picking the right method for your real baking rhythm – and understanding why each one works.
What Your Starter Needs Before Storage
Healthy sourdough starter is the non-negotiable starting point – no storage method can compensate for a weak or hungry culture going into dormancy. Before you choose a jar or open a fridge door, your starter needs to be active: bubbling vigorously, doubling in volume within 4–6 hours of a room-temperature feeding. If it can’t do that, storing it just locks in the problem.
The gear list is short. You need a digital scale, a clean airtight glass jar (Weck and mason-style jars both work well), strong white bread flour, and water. If you’re planning on fridge storage, your refrigerator needs to hold around 38 °F (3 °C). Drying and freezing don’t require precise cold – just a clean, dry environment.
One hygiene rule matters above all others: every container and utensil that touches your starter must be thoroughly clean. During long dormancy, a starter isn’t actively competing with outside organisms the way it does at room temperature. A trace of mould or unwanted bacteria in a dirty jar can colonize quietly while the culture sleeps.
There’s also a timing rule that trips up a lot of people. The starter you put into storage should be fed, given its normal rise, and then stored – never stored when it’s already hungry. An unfed starter going into cold storage is like sending someone on a long road trip on an empty tank. It’ll wake up stressed, over-acidified, and sluggish.
One more thing worth saying plainly: a sourdough starter is a resilient microbial ecosystem, not a fragile pet. It has survived centuries in farmhouse kitchens without precise thermometers or digital scales. What you’re doing when you store it isn’t walking a tightrope – you’re just choosing how fast or slow you want its biological clock to run.
Counter Storage: The Daily‑Feed Method for Frequent Bakers
Countertop storage is the right call if you’re baking several times a week – it keeps your starter always active, always at arm’s reach, and never needing a revival window before you can use it. The trade-off is daily attention: in a normal kitchen, a counter starter needs feeding every 24 hours. In a hot summer kitchen above 80 °F, that shortens to every 12 hours.
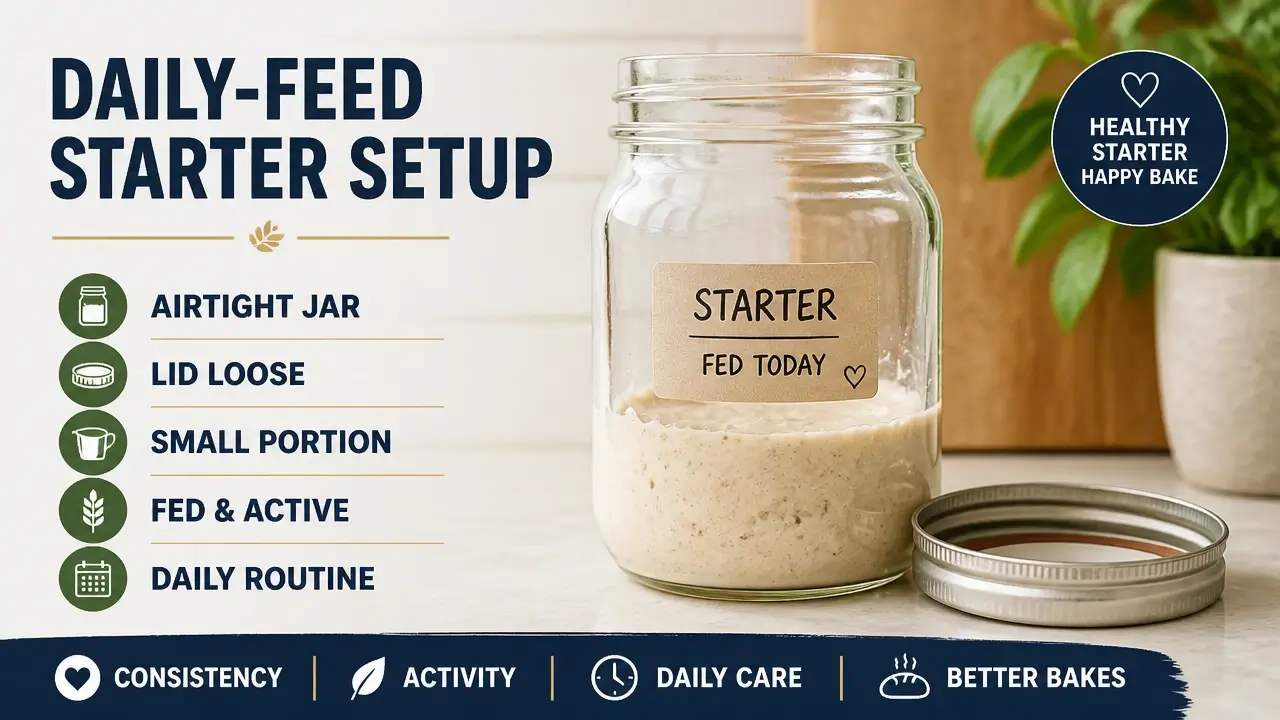
The routine itself takes about five minutes. Retain a small portion of your starter – 20 to 30 grams is plenty – discard the rest (or stash it for pancakes, crackers, or flatbread), then feed with equal weights of flour and water. That’s the whole job.
One safety point that’s easy to overlook: never seal a counter starter with an airtight lid. At room temperature, your culture is actively producing carbon dioxide, and a sealed jar can build enough pressure to crack or shatter glass. Rest the lid loosely on top, or use a cloth cover secured with a rubber band. Only tighten the lid once the jar is fully chilled, if you ever move it to the fridge.
Here’s what makes counter storage genuinely convenient for frequent bakers: the starter is always at peak readiness. There’s no warm-up, no revival feeding, no waiting to see if it’s “awake” yet. When it peaks, you bake.
If you want to reduce discard between bakes, the scrapings method is worth trying. Keep a small master jar – something in the 200–300 ml range. Build your levain directly in that jar for each bake, use what you need, and leave a few tablespoons of the bubbly residue clinging to the sides. Feed those scrapings, return the jar to the counter, and you’ve kept your culture going with almost no waste. The thin film of starter left behind is enough to seed the next generation.
Here’s a look at what a clean, active daily-feed setup looks like in practice:
The science behind why this works so reliably at room temperature comes down to what researchers call continuous refreshment – the practice of using the previous batch as the inoculum for the next. MDPI Applied Sciences Research Team, food biotechnologists studying spontaneous sourdough ecosystems, put it this way:
“Type I sourdough can be maintained for years by continuous refreshment using the previous batch as inoculum. An optimal frequency of backslopping promotes great diversity and fermentative activity. Intermediate fermentation times achieve a balance between pH and acid-tolerant microorganisms.”
That balance – between pH and acid-tolerant organisms – is exactly why skipping even one feeding on a hot day can shift the flavor noticeably toward sharp acidity. The daily rhythm isn’t arbitrary ritual. It’s what keeps the microbial community stable and the flavor profile consistent.
Refrigerator Storage: The Weekly‑or‑Less Feeding Sweet Spot
Refrigerator storage is the method most occasional bakers are looking for – the one that lets you step away from the kitchen for two or three weeks without guilt, and come back to a living culture. Cold temperature is the mechanism that makes this possible. At around 38 °F (3 °C), the yeast and bacteria in your starter slow their metabolism dramatically, dropping into a semi-dormant state that stretches the gap between feedings from daily to weeks.
That’s not a trick or a workaround. It’s just biology responding to temperature.
The Step‑by‑Step Fridge Storage Routine
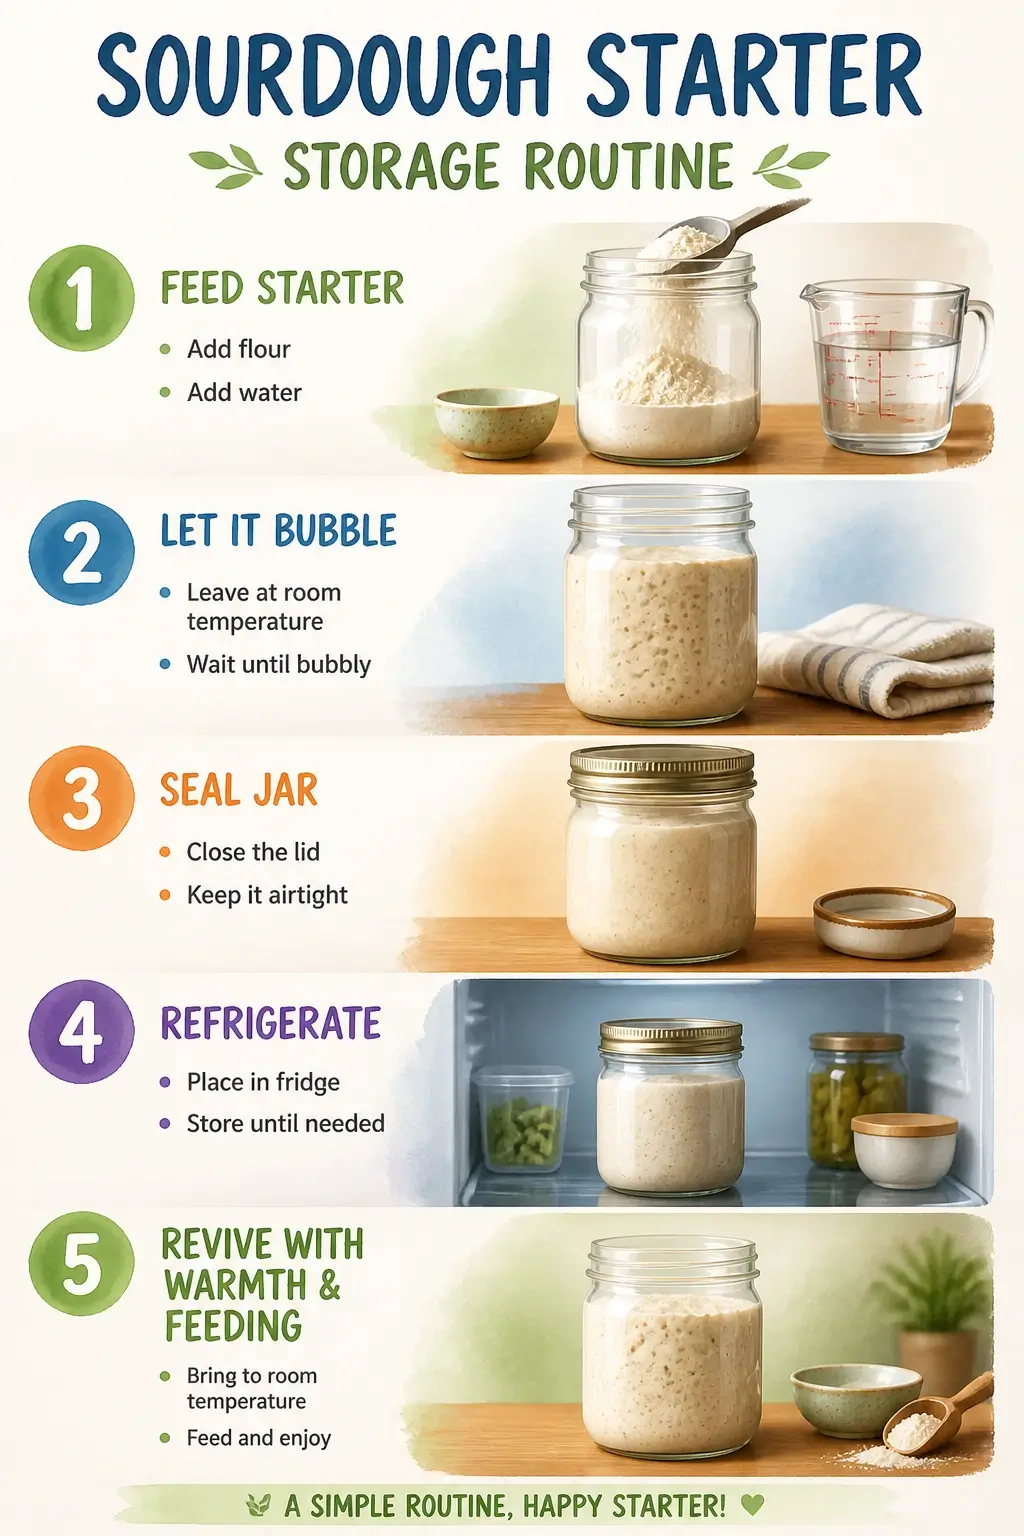
The fridge storage routine has a specific sequence that matters. Feed your starter first, let it begin to bubble and show signs of activity – it doesn’t need to reach full peak – then immediately transfer it to a clean jar and seal it airtight. Unlike counter storage, a sealed lid in the fridge is completely safe. Gas production at 38 °F is minimal, and the airtight seal actually protects the culture from picking up fridge odors.
From there, leave it alone. A week is easy. Ten days is comfortable. Two to three weeks is the practical sweet spot for most occasional bakers. Beyond three weeks, the culture starts to over-acidify as the metabolic byproducts accumulate even at cold temperatures, and revival becomes slower and less predictable.
When you’re ready to bake, pull the jar out, let it warm to room temperature, and give it one or two feedings – spaced 12 hours apart – until it doubles reliably. That’s your signal that it’s back at full strength and ready to leaven bread.
Dr. James B. Konopka, Professor of Microbiology and Immunology, has studied the metagenomic life cycles of sourdough cultures in exactly this kind of home-refrigerator context:
“The constituent microorganisms go dormant when a starter culture saturates, is left unfed, and is stored in a refrigerator. A dormant starter can be rejuvenated by feeding it regularly with a fresh water–flour mixture… A dormant culture of leaven that was prepared with flour in the laboratory was stored in the home refrigerator and fed and expanded at two-to-three-week intervals, which are required for bread making.”
Two-to-three-week intervals is exactly the rhythm. It’s not a compromise – it’s a documented, functional protocol.
Avoiding Common Fridge Storage Mistakes
The single most common fridge storage mistake is refrigerating a starter that hasn’t been fed yet. It seems harmless – you’re slowing everything down anyway, right? But a hungry starter going into cold storage has already shifted toward acid production. The cold slows the metabolism but doesn’t stop it, so the culture keeps acidifying slowly over days, producing excess acetic and lactic acid. When you pull it out weeks later, it wakes up stressed, weak, and sometimes won’t rise reliably for several feedings.
Always feed first, then refrigerate.
The other mistake is assuming “room temperature” is good enough for revival. If your kitchen runs cool – say, 68 °F or below – the lag phase after fridge storage can stretch past 24 hours, which is easy to misread as a dead starter. Aim for a revival spot at 78 °F–82 °F (25 °C–26 °C). A turned-off oven with just the light on, or the top of a refrigerator, often hits that range. At that temperature, you should see clear bubbling within 8–12 hours of the first revival feeding.
For bakers who go beyond two weeks regularly, there’s a formulation worth knowing. A stiff starter at around 80% hydration – built from roughly 20 g of ripe starter, 100 g of flour, and 80 g of water – handles extended cold storage better than a liquid 100% hydration levain. The lower water activity slows the acidification process, so the culture wakes up stronger after a long rest. This isn’t a rule you have to follow for a quick week in the fridge. But if you’re routinely pushing three weeks, the stiff formula is a practical tool, not dogma.
Dried & Frozen Backup: The No‑Maintenance Insurance Policy
Dried and frozen backup methods exist for one purpose: to give you a copy of your culture that requires zero ongoing feeding, indefinitely. Every occasional baker should have at least one of these in place – not because your fridge jar will fail, but because accidents happen. Mould from a contaminated utensil, a power outage, a long trip, a season off from baking. The backup is the reason you never have to start a sourdough culture from scratch again.
The Drying Method for Long‑Term Backup
The drying method is the most stable long-term option. Start with a freshly fed, active starter – bubbly and showing clear signs of life. Spread it in the thinnest possible layer on a parchment-lined baking sheet or silicone mat. You’re aiming for translucent sheets, not thick puddles.
Leave it to air-dry in a well-ventilated spot for 24 to 48 hours. The test for readiness is the brittleness check: the dried starter should snap cleanly when you bend it. If it bends without breaking, or feels leathery at all, it needs more time. Moisture is the enemy of long-term viability here – even a slightly flexible piece means water is still present, and that residual moisture will allow microbial activity to continue slowly, shortening shelf life.
Once fully brittle, break the sheets into shards or grind them to a coarse powder. Store in a perfectly dry, airtight glass jar in a cool, dark cupboard – away from heat sources and humidity. The same jar-hygiene rule from storage applies here: any moisture in the container can reactivate the culture prematurely or introduce mould.
To revive dried starter, combine the flakes with warm water at around 100 °F (38 °C) and mix into a thick paste. Feed with flour and water once daily until the culture doubles reliably – this typically takes 3 to 5 days. Keep it in a warm spot during revival: 78 °F–82 °F (25 °C–26 °C) is the target range. Below that, the lag phase can stretch uncomfortably long and create the false impression that the culture didn’t survive.
Here’s a practical walkthrough of the full dehydration and reactivation process:
Research from food microbiologists at China Food Preservation Laboratories, who specialize in yeast cell viability and metagenomic sequencing of traditional starters, confirms why this method holds up over time. The research team found:
“In daily life, fermentation starters often cannot be used all at once and need to be stored under frozen conditions because the subzero storage temperatures could prolong microbial shelf life and retard staling… Freeze-drying is a realistic technology for the stability and maintenance of the potential sourdough starters… for a long time”
The underlying principle – that reducing water activity and metabolic rate extends microbial shelf life – is the same whether you’re air-drying at home or using industrial freeze-drying equipment. The home version is less precise but, done correctly, produces results that last for years.
The Freezing Method for 6–12 Month Storage
The freezing method trades indefinite shelf life for simplicity. Feed your starter, let it reach peak activity, then transfer a small portion – 50 to 100 grams is enough – to a freezer-safe container. Seal it tightly and freeze. That’s the whole process.
A properly frozen starter stays viable for 6 to 12 months without any feeding or maintenance. No checking, no discarding, no flour. It just sits there, waiting.
To revive it, move the container from the freezer to the fridge the night before you want to start the process. Let it thaw slowly overnight, then bring it to room temperature and feed it as normal. Give it two or three feedings over a couple of days – using the same 78 °F–82 °F warm revival spot – and it will return to full activity.
One distinction worth keeping clear: freezing and drying are backup methods, not rotation methods. They’re the “break glass in case of emergency” plan for your culture, not a substitute for the fridge routine you use between regular bakes. Keep your active fridge starter for your normal rhythm. Keep a frozen or dried portion as the copy you never touch unless something goes wrong.
Starter Troubleshooting: What Looks Scary But Isn’t
Starter troubleshooting is where most occasional bakers throw away a perfectly good culture – not because it’s dead, but because it looks unfamiliar. The grey liquid, the flat surface, the sharp smell. These are signals, not death sentences. Reading them correctly is the difference between a starter that survives years and one that gets poured down the drain after a two-week fridge vacation.
Identifying Hooch and True Mould
Hooch identification is the first skill worth having. That clear, grey, or dark liquid layer sitting on top of a fridge-stored starter is alcohol – a byproduct of fermentation, not contamination. It forms when the culture runs out of available sugars and the yeast shifts to producing ethanol. It means your starter is hungry, not ruined.
You have two options: stir the hooch back into the starter before feeding for a more acidic, complex flavor in your next bake, or pour it off for a milder result. Both are completely safe. The hooch itself is proof the culture is still metabolically active.
True mould is a different story, and the visual difference is clear. Fuzzy growth – green, black, bright pink, or orange – is dangerous and not recoverable. If you see fuzzy patches anywhere on the surface or sides of your starter, discard the entire culture, deep-clean the container with hot water and soap, and restart from your dried or frozen backup. This is exactly why keeping a backup matters.
Discoloration alone – a grey or slightly tan tinge to the surface – is not mould. Mould has texture. If you’re unsure, look for fuzz. If there’s no fuzz, it’s almost certainly just a starter that needs feeding.
Reviving Neglected Starters and Temperature Death Zones
Starter revival method after extended neglect is more forgiving than most people expect. If your fridge starter sat untouched for a month or more and looks flat and lifeless, don’t panic. Drain any excess hooch, retain a small portion – even a tablespoon is enough – and begin feeding it at room temperature. Two or three feedings over 24 to 48 hours will almost always bring it back. The culture may smell sharply acidic or even faintly of acetone at first. That’s the over-acidification talking. Feed through it.
If you made the mistake of refrigerating an unfed starter and it’s now sluggish and unresponsive, the recovery approach is the same, with one useful addition: replace a small portion of your normal white flour with whole-wheat or rye flour for the first one or two revival feedings. Both contain more minerals and wild yeast food than refined white flour, which can give a stressed culture the extra metabolic push it needs to get moving.
One counterintuitive insight that many intermediate bakers never discover: keeping more than 100 grams of starter in your master jar can actually slow it down. Smaller culture masses – 20 to 30 grams of scrapings – tend to bounce back faster after fridge storage, likely because oxygen and nutrients diffuse more efficiently through a smaller volume. If your starter seems consistently sluggish after cold storage despite correct feeding and temperature, try reducing your master jar to just 20 to 30 grams and see if revival time shrinks. It’s a low-cost experiment with a meaningful payoff.
One absolute limit does exist. Starter dies above 140 °F (60 °C). At that temperature, the yeast and bacteria denature irreversibly – no feeding, no revival, no backup plan will fix it. Keep your starter away from hot ovens, radiators, and direct summer sun. This, not a missed feeding or an extra week in the fridge, is the only true killer.
Match Your Storage to How Often You Actually Bake
The storage decision framework comes down to one honest question: how often do you actually bake, not how often you intend to? The answer to that question points directly to the right method – and using the wrong method for your real rhythm is where the frustration comes from.
Here’s the decision table, in plain language:
| Baking Frequency | Recommended Method | Feeding Interval | Maintenance Effort |
|---|---|---|---|
| 2+ times per week | Counter | Every 24 hrs (every 12 hrs in hot kitchens) | Daily – 5 minutes |
| 1–4 times per month | Refrigerator | Every 2–3 weeks | Minimal – feed before storing and before baking |
| Less than once a month / season off | Freezer | None required | Zero – thaw and revive when ready |
| Emergency backup / travel / moving | Dried | None required | Zero – rehydrate and revive when needed |
The most practical setup for an occasional baker with unpredictable schedules is a hybrid: keep a small fridge master jar – 20 to 30 grams of starter – for your normal baking rhythm, and maintain a separate dried backup in the pantry. The fridge jar handles your day-to-day baking life. The dried backup handles everything else: accidents, extended breaks, the jar you forgot about for two months.
The point of having both isn’t redundancy for its own sake. It’s that your unique culture – the specific community of yeast and bacteria that’s been living in your kitchen, eating your flour, and shaping your bread’s flavor – is genuinely irreplaceable once it’s gone. A dried backup is cheap insurance for something that took months or years to develop.
One last thing worth saying directly: the misery in sourdough maintenance doesn’t come from the starter’s fragility. It comes from trying to run a countertop daily-feed routine when you bake once a month. That’s not a discipline problem. That’s a method mismatch. Pick the method that matches your actual life, and your starter will be there whenever you’re ready – no guilt, no emergency feedings, no flour wasted.
The research community backs this up. The Agricultural and Food Bio-engineering Group, food process engineers studying sourdough portability and storage, found:
“One of the main challenges in sourdough production is its limited portability due to its high moisture content, volume, and need for frequent refreshments. Drying has been proposed as a practical method to improve sourdough storage and transportation… Although drying initially reduced microbial viability, the reactivation process effectively restored these properties, confirming the stability and resilience of the sourdough microbiota.”
That word – resilience – is the one to hold onto. The microbiota bounces back. Your job is just to give it the right conditions to do so.
Dr. Giuseppe Minervini, sourdough microbiologist and academic researcher specializing in traditional Type-I sourdough dynamics, documents the full spectrum of storage options that experienced bakers actually use:
“Sometimes, bakers may choose to avoid daily back-slopping of sourdough by storing it at low temperatures or in a dried form… If the sourdough is intended to be stored at 4–10°C, flour and water are added and, after kneading, without fermentation, the dough is stored in the fridge for up to 20–30 days… Other bakers store an aliquot of sourdough at a temperature ranging from -5 to -20°C… A further method of storage, which is applied in case the storage time is longer than 20–30 days, consists in drying the sourdough simply by addition of flour, followed by grinding.”
Every method in this article has been used by real bakers for real reasons. The framework above just helps you pick yours.
Key Takeaways on Storing Sourdough Starter
- Always feed your starter before storing it – refrigerating a hungry culture causes over-acidification that makes revival slow and unreliable.
- Counter storage works only if you bake several times a week; anything less and the daily flour cost outweighs the convenience.
- Fridge storage at 38 °F (3 °C) supports a 2–3 week feeding interval, making it the right fit for most occasional bakers.
- A stiff starter at 80% hydration handles extended fridge storage better than a liquid levain because lower water activity slows acidification during cold rest.
- Grey liquid on top of a fridge starter is alcohol – a sign of hunger, not contamination; only fuzzy colored growth means discard.
- Keep a dried or frozen backup of your unique culture so a single accident never forces you to build a new starter from scratch.
Frequently Asked Questions About Storing Sourdough Starter
What is the single biggest mistake you can make when storing sourdough starter?
Putting a hungry, unfed starter into the fridge is the most damaging thing you can do. The cold slows metabolism but doesn’t stop it, so the culture keeps acidifying slowly for weeks and wakes up stressed, sluggish, and sometimes unresponsive for several feedings.
How long can sourdough starter actually stay in the fridge without being fed?
Most starters handle 2–3 weeks in the fridge without any issues, provided they were fed before going in. Beyond three weeks, over-acidification starts to build up and revival takes longer, though the culture is rarely unrecoverable.
Can I store sourdough starter in a ziplock bag?
You can, but it’s not ideal for anything beyond short-term fridge storage. A ziplock bag doesn’t seal as reliably as a glass jar, risks absorbing fridge odors, and can be awkward to feed from. A mason or Weck jar with an airtight lid is a better tool for the same cost.
Why does my starter smell like acetone after coming out of the fridge?
An acetone or nail-polish smell means the culture over-acidified during cold storage – usually because it was underfed before refrigeration or left in the fridge too long. Feed it two or three times at a warm 78–82 °F spot and the smell should shift back to a clean, pleasantly sour aroma within a day or two.
Does the type of flour I use for storage feedings affect how well the starter survives?
For routine fridge storage, strong white bread flour works reliably. If you’re reviving a particularly stressed or neglected starter, substituting a small portion with whole-wheat or rye flour for the first feeding can help – both carry more minerals and native wild yeast food that give a sluggish culture a metabolic boost.
Is it safe to bake with starter straight out of the fridge, without a revival feeding?
Technically yes, but the results are inconsistent. Cold-stored starter is semi-dormant and its yeast population is lower than at peak activity. Using it straight from the fridge can lead to under-leavened bread or an unusually long bulk fermentation. One revival feeding to peak is a small time investment for a much more predictable bake.
How do I know if my dried starter backup is still viable after years in the pantry?
The best test is rehydration. Mix a small amount with warm water, feed it daily for 3–5 days at 78–82 °F, and watch for bubbling and doubling. If there’s no activity after five days, the culture likely didn’t survive storage – usually because the jar wasn’t fully airtight or absorbed ambient humidity over time.
Can I keep multiple starters with different hydration levels, or is that unnecessarily complicated?
For most occasional bakers, one fridge starter at standard hydration plus a dried backup is all you need. Maintaining a separate stiff starter long-term makes sense only if you regularly push 3-week fridge cycles and want faster, stronger revival – otherwise the added complexity isn’t worth it.
References
- Technological Parameters and Spontaneous Sourdough Ecosystems – mdpi.com
- Metagenomic Life Cycles and Maintenance of Sourdough Cultures – mdpi.com
- Yeast Cell Viability and Shotgun Metagenomic Sequencing of Traditional Starters – frontiersin.org
- Sourdough Storage, Portability, and Microbiota Resilience – mdpi.com
- Traditional Type-I Sourdough Dynamics and Storage Methods – sciencedirect.com